
Transforming a shipping container into a cozy home is a unique and exciting project. After completing the framing and electrical work, it’s now time to move on to insulation. For the first time, they are trying closed cell foam insulation on their own. They know it might be messier and harder than they imagined, so they take time to prepare thoroughly.
They start by taping off outlets and the control room where the electrical system is housed to avoid getting foam on critical components. Maintaining the right temperature for the foam chemicals is crucial, so they take extra measures to keep everything warm and ready. The process is nerve-wracking yet rewarding, with mistakes along the way, but persistence pays off. Following insulation, the next step involves installing a DIY mini-split AC for heating and cooling, ensuring the space is comfortable year-round.
Key Takeaways
- Proper preparation helps manage the mess during spray foam insulation.
- Maintaining the right temperature for foam chemicals is critical for success.
- Installing a DIY mini-split AC ensures heating and cooling in the insulated space.
Getting Ready for Insulation
Covering Electrical Outlets and Systems
Before starting to apply the foam, it is vital to protect all electrical outlets and systems. This avoids any unwanted foam covering the equipment.

Heating Foam Chemicals
The foam chemicals need to be warm to work correctly—between 70°F and 90°F. Over the past 12 hours, they have been stored in a living room with a heating blanket to keep them at the right temperature.
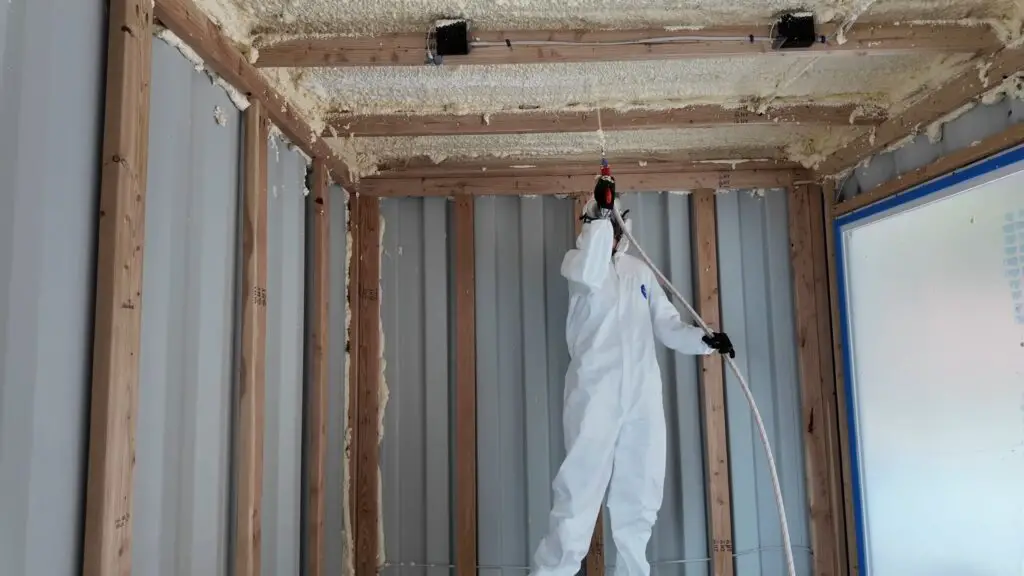
Dressing Properly for Insulation
Wearing the right protective gear is important. This includes a suit, gloves, and possibly a mask to ensure safety while applying the foam insulation.
Spray Foam Insulation Process
Initial Spray Attempt
Suiting up and getting ready, they faced the challenge of using closed cell foam insulation for the first time. Despite thorough preparations, including warming the chemicals, it proved messier and more difficult than anticipated.
Issues and Adaptations
To meet the required temperature for the foam, they had to employ additional heating methods, like wrapping tanks in electric blankets. Ensuring everything went smoothly was a continuous concern, and adjustments were necessary throughout the process.
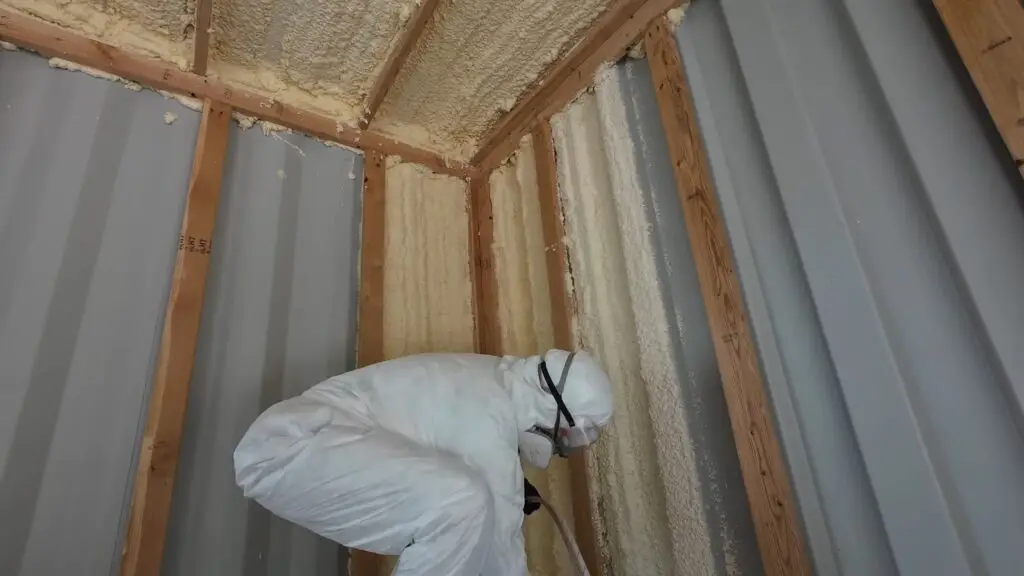
Achieving Proper Coverage
Spraying foam evenly was a learning curve. They aimed for a 2-inch thickness but found it difficult to achieve in one pass. They marked under-sprayed areas for additional layers to make sure every nook and cranny was properly sealed.
Goal for Heating Efficiency
Their aim was to make the container so well insulated that minimal heating would be required. A well-insulated container would offer substantial energy savings and comfort, making the space more efficient to heat and cool.
Finishing the Insulation Job
Wrapping up, they focused on addressing areas needing more foam and checking the insulation thickness. The task was labor-intensive but rewarding, resulting in a well-insulated container ready for the next phase of construction.
Tasks After Insulation
Tidying Up
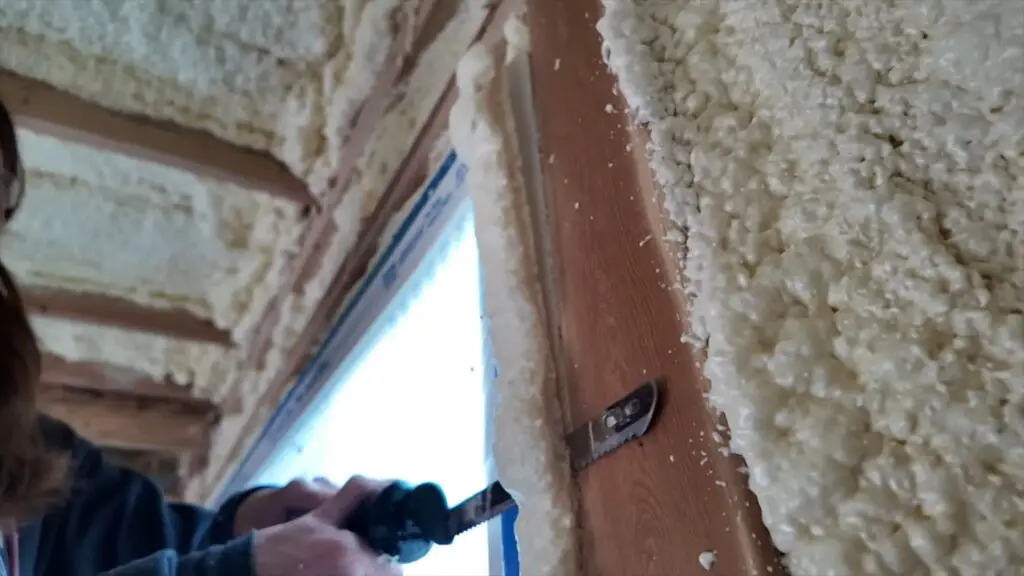
After completing the spray foam insulation, it’s essential to clean up the area. Any overspray needs to be handled carefully to ensure the walls are smooth and ready for the next steps. An electric turkey carver can be an effective tool for this task, helping to shave off the excess foam and make the surface even.
It’s important to check the density of the foam behind the trimmed areas to confirm that the insulation is effective. This step helps in preparing the walls for the installation of drywall or other finishes. Remember to handle the tools safely and avoid damaging any underlying wiring during the cleanup process.
DIY Mini Split AC Installation
Preparation Steps
Before starting the installation, it’s essential to gather all necessary tools and materials. Make sure to read any manuals and set aside enough time for the project. Check the weather forecast to ensure good conditions for installation.
Building Mounting Brackets
For this project, brackets need to be constructed to support the outdoor unit. First, mount bolts through pre-drilled holes in the wall, using washers and silicone on both sides for extra security. When drilling the brackets, it’s crucial to make sure they are mirror images of each other. Clamp two pieces back-to-back and drill them simultaneously for accuracy.
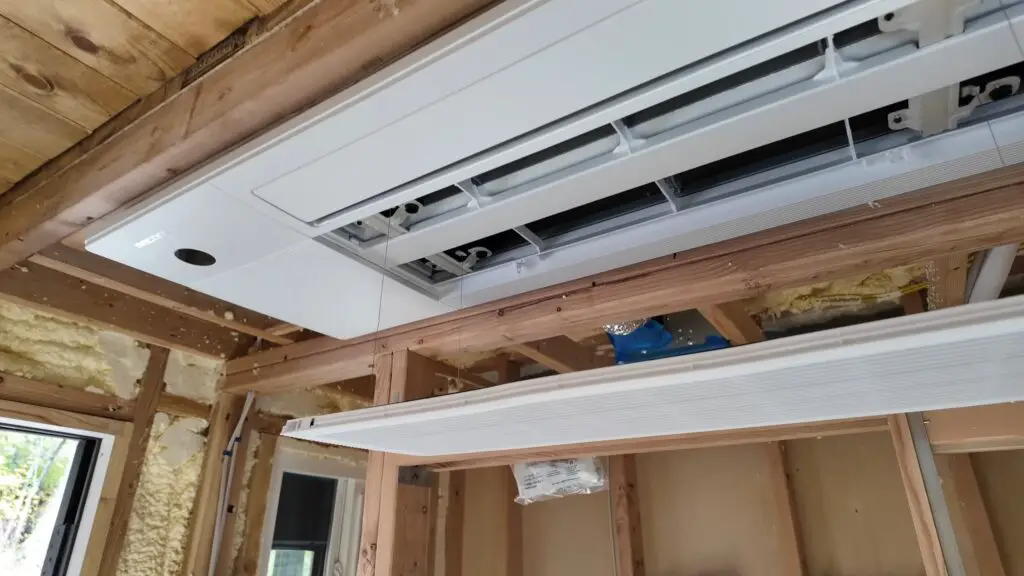
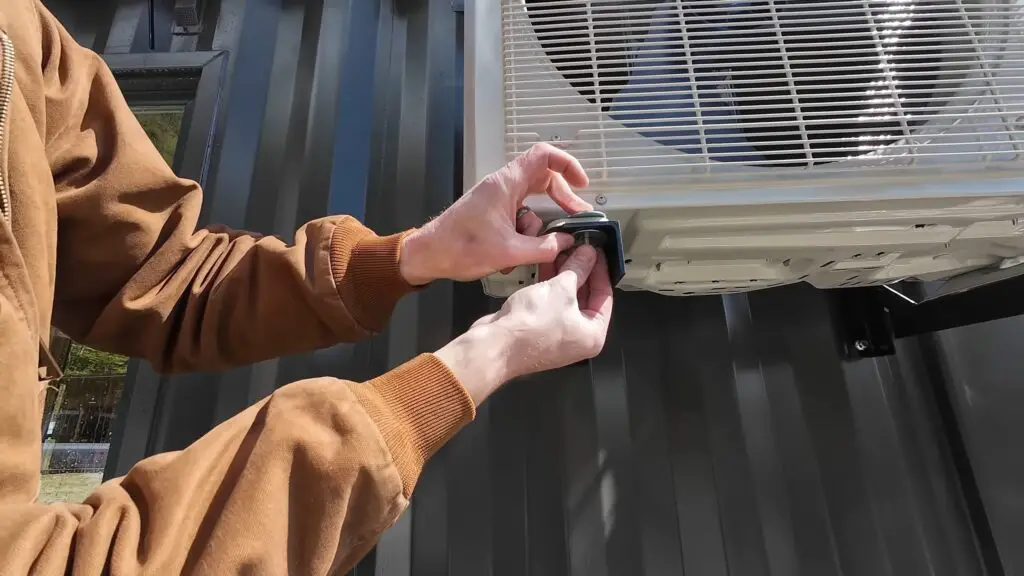
Installing the Unit
Once the mounting brackets are ready, it’s time to secure the outdoor unit. Lift the unit into place and attach it to the brackets using bolts. Make sure the unit is level and secure before connecting any electrical or refrigerant lines. Follow safety guidelines and use appropriate fittings to ensure a leak-proof connection.
Tips and Reminders
Preparation Matters: Ensure that all areas, especially electrical outlets, are well-protected with tape before starting the spray foam process. Proper preparation will help save time on clean-up later.
Temperature Control: The spray foam chemical needs to be between 70 and 90 degrees Fahrenheit to work correctly. Keep the tanks warm using a heating blanket and monitor them to ensure they are within this temperature range.
Gearing Up: Wear protective clothing, including a suit and mask, to stay safe from chemicals and avoid inhaling any fumes.
Spraying Technique: Spraying spray foam requires a steady hand and attention. Don’t pause for more than 30 seconds to avoid having to change the spray gun tip. Aim for an even application and be mindful that the foam cures quickly.
Layering the Foam: Aim for an initial thickness of at least one inch. It’s better to apply the foam in multiple thin layers rather than trying to achieve the full thickness in one go. An optimal goal is around two inches thick.
Check for Gaps: After the foam has cured, inspect all areas to ensure there are no thin spots. Use a marker to highlight any areas that need additional foam.
Avoiding Excess: Be cautious not to overspray, as excessive foam will need to be trimmed down, which can be time-consuming.
Insulating Nooks and Crannies: Ensure all gaps and crevices are filled. This not only provides better insulation but also prevents moisture from seeping in and causing mold.
Safety First: Always follow safety guidelines, including not using electrical tools near any areas that may have been oversprayed.
Monitor Thickness: Use spray paint or a marker to mark areas where foam needs to be applied again. Use this method to ensure consistency and thorough coverage.
Plan for Clean-Up: Expect a mess and plan accordingly. Having a clean-up plan in place will save time and stress once the project is complete.
Assessing the Results: After completion, inspect the foam to ensure it is properly covering all required areas and is consistent in thickness. If necessary, conduct another round of spraying to address any deficiencies.